Skip to primary navigation
Skip to main content
Skip to primary sidebar
Skip to footer
Happy Hooligans
Crafts and Activities for Toddlers and Preschoolers to Tweens
Home
About
About Jackie Currie
Contact
Work With Me
Privacy Policy
Happy Hooligans Accessibility Statement
HOLIDAY CRAFTS
Christmas
Valentines Day
Mardi Gras
St. Patrick’s Day
Easter
Mother’s Day
Father’s Day
Canada Day
4th of July
Halloween
Thanksgiving
Remembrance Day
CRAFTS
Fall Crafts and Activities
Winter Crafts
Spring Crafts and Activities
Nature Crafts
Paper Plate Crafts for Kids
Toilet Roll Crafts
ART FOR KIDS
Kids’ Art Projects
Homemade Paint Recipes
Activities
Science Activities for Kids
Concoctions
Outdoor Activities
Backyard Play Ideas
Winter Activities
Sensory Play Ideas
Water Play
Messy and Muddy Play Ideas
Ice Play
Homemade Games and Toys
Fine Motor Activities
Recipes
Easy Family Recipes
Easy Soup Recipes
Dessert Recipes
Cookie Recipes
Kid-Friendly Recipes
Christmas Recipes
Parenting
Parenting 0-5
Books
Best Books for Boys – 40+ Fantastic Reads for Boys ages 8-16
75+ Best Chapter Books for Girls Ages 5-13
25+ More Great Books for Boys
Get My e-Books
Easy Sewing Projects
House and Home
Home Daycare
Search
Home
»
ice play
ice play
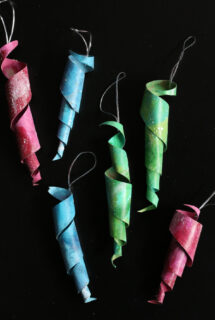
Cardboard Roll Icicles
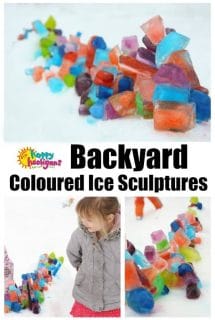
Coloured Ice Sculptures in the Snow
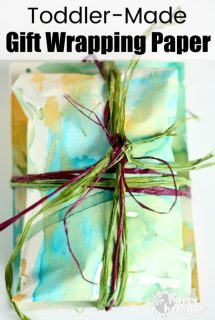
Homemade Gift Wrapping Paper with Coloured Ice Pops
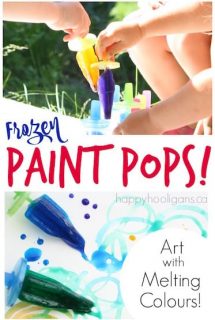
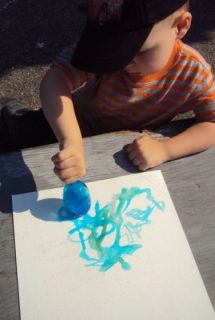
Painting with Frozen Paint Pops
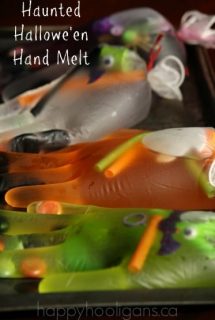
Haunted Halloween Hand Melt – A Salt and Ice Experiment for Kids
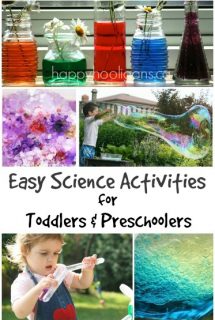
20 Science Activities for Toddlers and Preschoolers
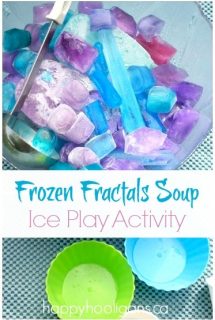
Frozen Fractals Soup Activity – Ice Play for Kids
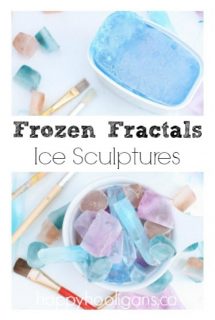
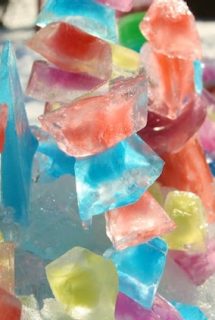
Frozen Fractals Ice Sculptures Activity for Kids
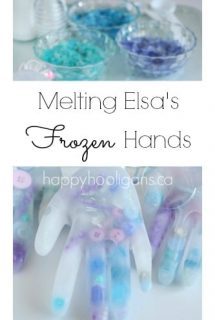
Melting Elsa’s Frozen Hands Activity
Backyard Ice Sculptures
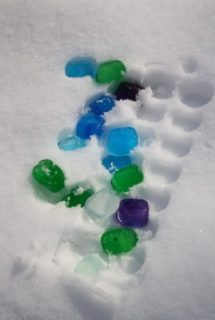
Coloured Ice Cubes in the Snow – Outdoor Winter Activity for Preschoolers
Painting with Coloured Ice – A Vibrant Outdoor Art Activity for Kids