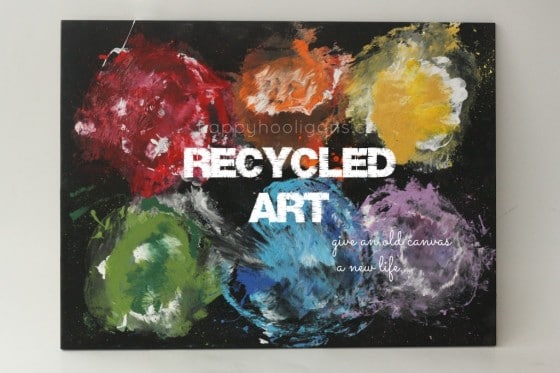
What can you do with an old canvas or out-dated picture that you no longer want hanging in your home? Try smoosh painting – one of my favourite art techniques for kids to transform it into a new, one-of-a-kind piece of art!
We love upcycling and repurposing things around here. Before I throw almost anything out, I stop and think of how we might be able to re-use the item for an art or craft project. It’s a great way to save things from going to landfill, and also a super way to save money when it comes to our art and craft supplies.
If you were impressed with yesterday’s recycled toddler art project, I think you’ll love how we’ve re-purposed this old picture and created a piece of custom “smoosh art” for our playroom.
What we used as a canvas for our recycled art:
Our canvas started off as a Ferarri poster board that hung on my son’s bedroom wall for years. He had taken it down, and I was planning to drop it off at Value Village with some clothes my guys have outgrown. One day it dawned on me, that we could prime and paint over the poster board and create a custom piece of art of our own.

It took me a couple of months to come up with the perfect plan for it, but it was so worth the wait. The painting process I chose was a ton of fun for the kids, and our finished piece is really something!
How we made our recycled art:
A few days ago, I rolled a coat of primer over the picture. I didn’t want any of the original art showing through, and I wanted to be sure our paint would adhere properly to the surface of the poster board.
Today I mixed up some powdered black tempera paint, and the hooligans rolled it over the entire surface of the picture.
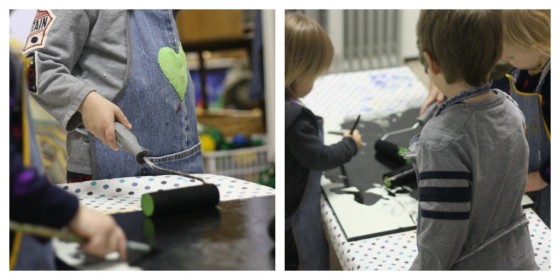
It only took a few minutes to dry because I gave it a blast with the hair dryer. (an old hair dryer in the craft room is handy for speeding up the drying process sometimes)
If you’re wondering about the adorable aprons that the hooligans wear when we’re gettin’ messy, I make them from the legs of worn out jeans. You can get the tutorial for my repurposed denim aprons here!
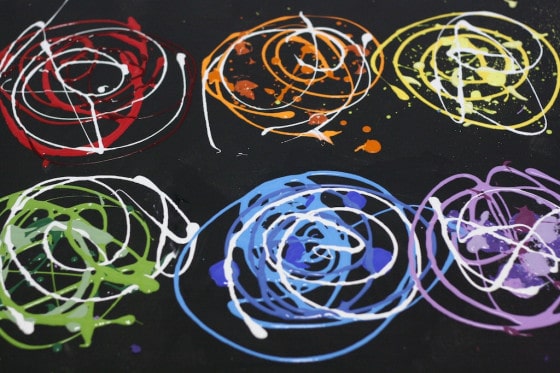
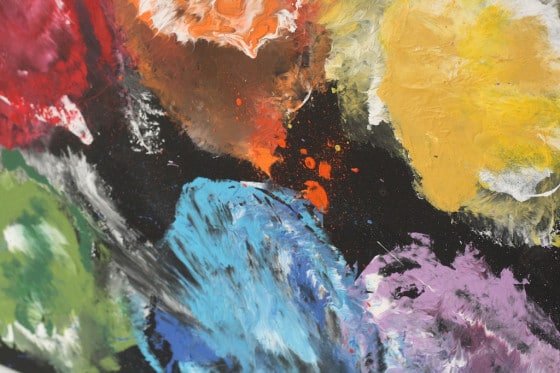
Next, I swirled six circles of acrylic craft paint onto the picture: red, orange, yellow, green, blue, purple. I actually used several shades of each paint because we we’d be using a smooshing technique which is a great way for kids to experiment with colour mixing. I topped off each coloured circle with a swirl of white acrylic craft paint.
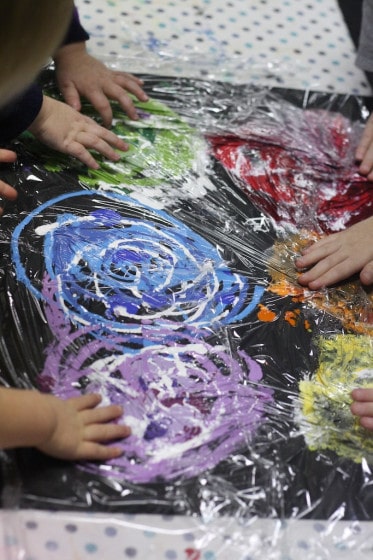
Then I lightly covered the whole thing with 3 overlapping pieces of cling-wrap, and handed it back over to the hooligans, and they smooshed the whole thing. When we’ve done smooshing in the past (you can see our Fall Collages here) we’ve really rubbed and smeared the cling wrap around, but today I had the hooligans press down and pat the cling wrap, so the circles wouldn’t get too mixed up with each other.
And now for the big reveal…
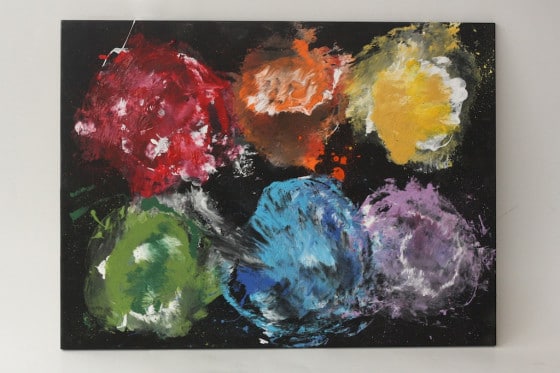
Isn’t it gorgeous?
Pair it up with the piece of re-purposed art that the hooligans made yesterday, and now we have 2 collaborative works of art to hang in our playroom.
I actually think this is cool enough to hang on the main floor. You could totally have your kids make a custom piece of art for your kitchen, living room or a bedroom!
If you wanted it to be a more permanent piece of art, I would suggest using acrylic craft paint rather than tempera paint because you could then brush on a coat of craft sealer/varnish to protect the painting. Using a matte sealer will give your art work a bit of sheen, and a much richer look as well.
As far as playroom art goes though, I think this piece rocks!
If you’re looking for more ways to decorate with custom, homemade art, check out this fab collection of homemade wall art from Crafts by Amanda.
Follow the Hooligans on Facebook!

Jackie is a mom, wife, home daycare provider, and the creative spirit behind Happy Hooligans. She specializes in kids’ crafts and activities, easy recipes, and parenting. She began blogging in 2011, and today, Happy Hooligans inspires more than 2 million parents, caregivers and Early Years Professionals all over the globe.


Aleacia @ Dilly-Dali Art
What a neat technique! How fun 🙂
Valerie @ glitteringmuffins.com
Very nice color display!
grahamta
This is really awesome! Sharing on my page…my kid spends a lot of time rubbing the paint on her hands instead of painting, so the plastic wrap idea is a great idea for us!
Kristin@ Sense of Wonder
I love it, so pretty. Now I think I have to go get some thrift store canvas.
funatchelleshouse
That is awesome! I would surely hang in on my living room wall….hey… I do need art for my walls…and I have a couple hooligans around here….no paint touches the fingers so i may be able to talk my lil guy into this project….off to find a cheap ol’ picture at the thrift store 🙂
Thanks for sharing at Sharing Saturday! I always enjoy seeing what you and the hooligan’s are up to.
pegges
it actually does look really cool!
Pamela Tan
I like how you place the shrink wrap – so the kids don’t get their hands dirty! 🙂
Bek @ Justfordaisy
Oh wow! This looks fabulous! I love the idea of smooshing – going to give that a try with Miss Daisy this afternoon! 🙂 Thanks for the inspiration! x
Allison
Brilliant Jackie! I’m featuring this tomorrow on The Sunday Showcase!
Rebecca from Here Come the Girls
That’s stunning. I have some old canvases I’ve been meaning to use with the girls. Must get round to doing it.
Thanks for linking to the Sunday showcase.
happyhooligans
Have fun, Rebecca! If you make some recycled art of your own, be sure to share pics!
simplysummers
That is so great!! I love it! Now I want to run through the house and see if I have anything old I can do that with!! Thanks for the great idea! 🙂
TheMadHouse
This is so beautiful and ethical too, thanks for linking up
H�l�ne OCTO
That’s a great idea that turned to be better than I thought!! Thanks
Joni
Love this! I am new to your site and will be following. Shared on my Facebook page. One thing�I cannot get the repurposed denim link to work�claims it cannot find the page. Can you repost?
happyhooligans
Hi Joni, I’m not sure why that happens. Sometimes, my blog is actually “down” because of server issues, and sometimes google just picks up the code for the photo, and not the actual post, so that might be the problem. Here’s the link though: https://happyhooligans.ca/repurposed-demin-aprons/. Happy sewing! And thank you for hopping on board and following along with me!
Jo-Anne Comerford
I LOVE this idea!! Definitely using it in my Education Centre… Busy Wee Bees Banbridge Northern Ireland!! Jo xx
happyhooligans
Yay! Glad you liked it, Jo-Anne!